RESTful API와 SPA에서 Spring OAuth2 Client로 소셜 로그인 구현하기
서론
현대 웹 개발 트렌드는 Vue, React와 같은 프론트엔드 프레임워크를 중심으로, SPA(Single Page Application) 방식이 주를 이루고 있습니다. 그래서 이번에는 Rest API에서 Spring Boot의 OAuth2 Client를 활용하여 소셜 로그인을 구현해보려 합니다.
Spring Boot의 OAuth2 Client는 다양한 소셜 미디어 플랫폼과의 통합을 용이하게 하며, 안전하고 효율적인 사용자 인증 프로세스를 제공합니다. 이 글에서는 이러한 소셜 로그인 구현 과정을 백엔드의 관점에서 단계별로 살펴보고, 실제 코드 예제와 함께 설명해보도록 하겠습니다.
의존성 추가
1
2
3
dependencies {
    implementation 'org.springframework.boot:spring-boot-starter-oauth2-client'
}
스프링 시큐리티 설정
1
2
3
4
5
6
7
8
9
10
11
12
13
14
15
16
17
18
19
20
21
22
23
24
@Bean
public SecurityFilterChain securityFilterChain(HttpSecurity http) throws Exception {
    http
            ...
            .oauth2Login(oauth2Configurer -> oauth2Configurer
                    .authorizationEndpoint(authEndpointConfig ->
                            authEndpointConfig
                                    .baseUri("/oauth2/authorization")
                    )
                    .redirectionEndpoint(redirectionEndpointConfig ->
                            redirectionEndpointConfig
                                    .baseUri("/oauth2/code/*")
                    )
                    .userInfoEndpoint(userInfoEndpointConfig ->
                            userInfoEndpointConfig
                                    .userService(apiOauth2UserService)
                    )
                    .successHandler(apiOauth2AuthenticationSuccessHandler)
                    .failureHandler(apiOauth2AuthenticationFailureHandler)
            )
            ...
            ;
    return http.build();
}
Authorization Endpoint 설정
.authorizationEndpoint(): 인증 요청을 처리할 엔드포인트의 기본 URI를 설정합니다. 이 URI는 프론트엔드에서http://localhost:8081/oauth2/authorization/google?redirect_uri=http://localhost:3080와 같이 호출됩니다.
Redirection Endpoint 설정
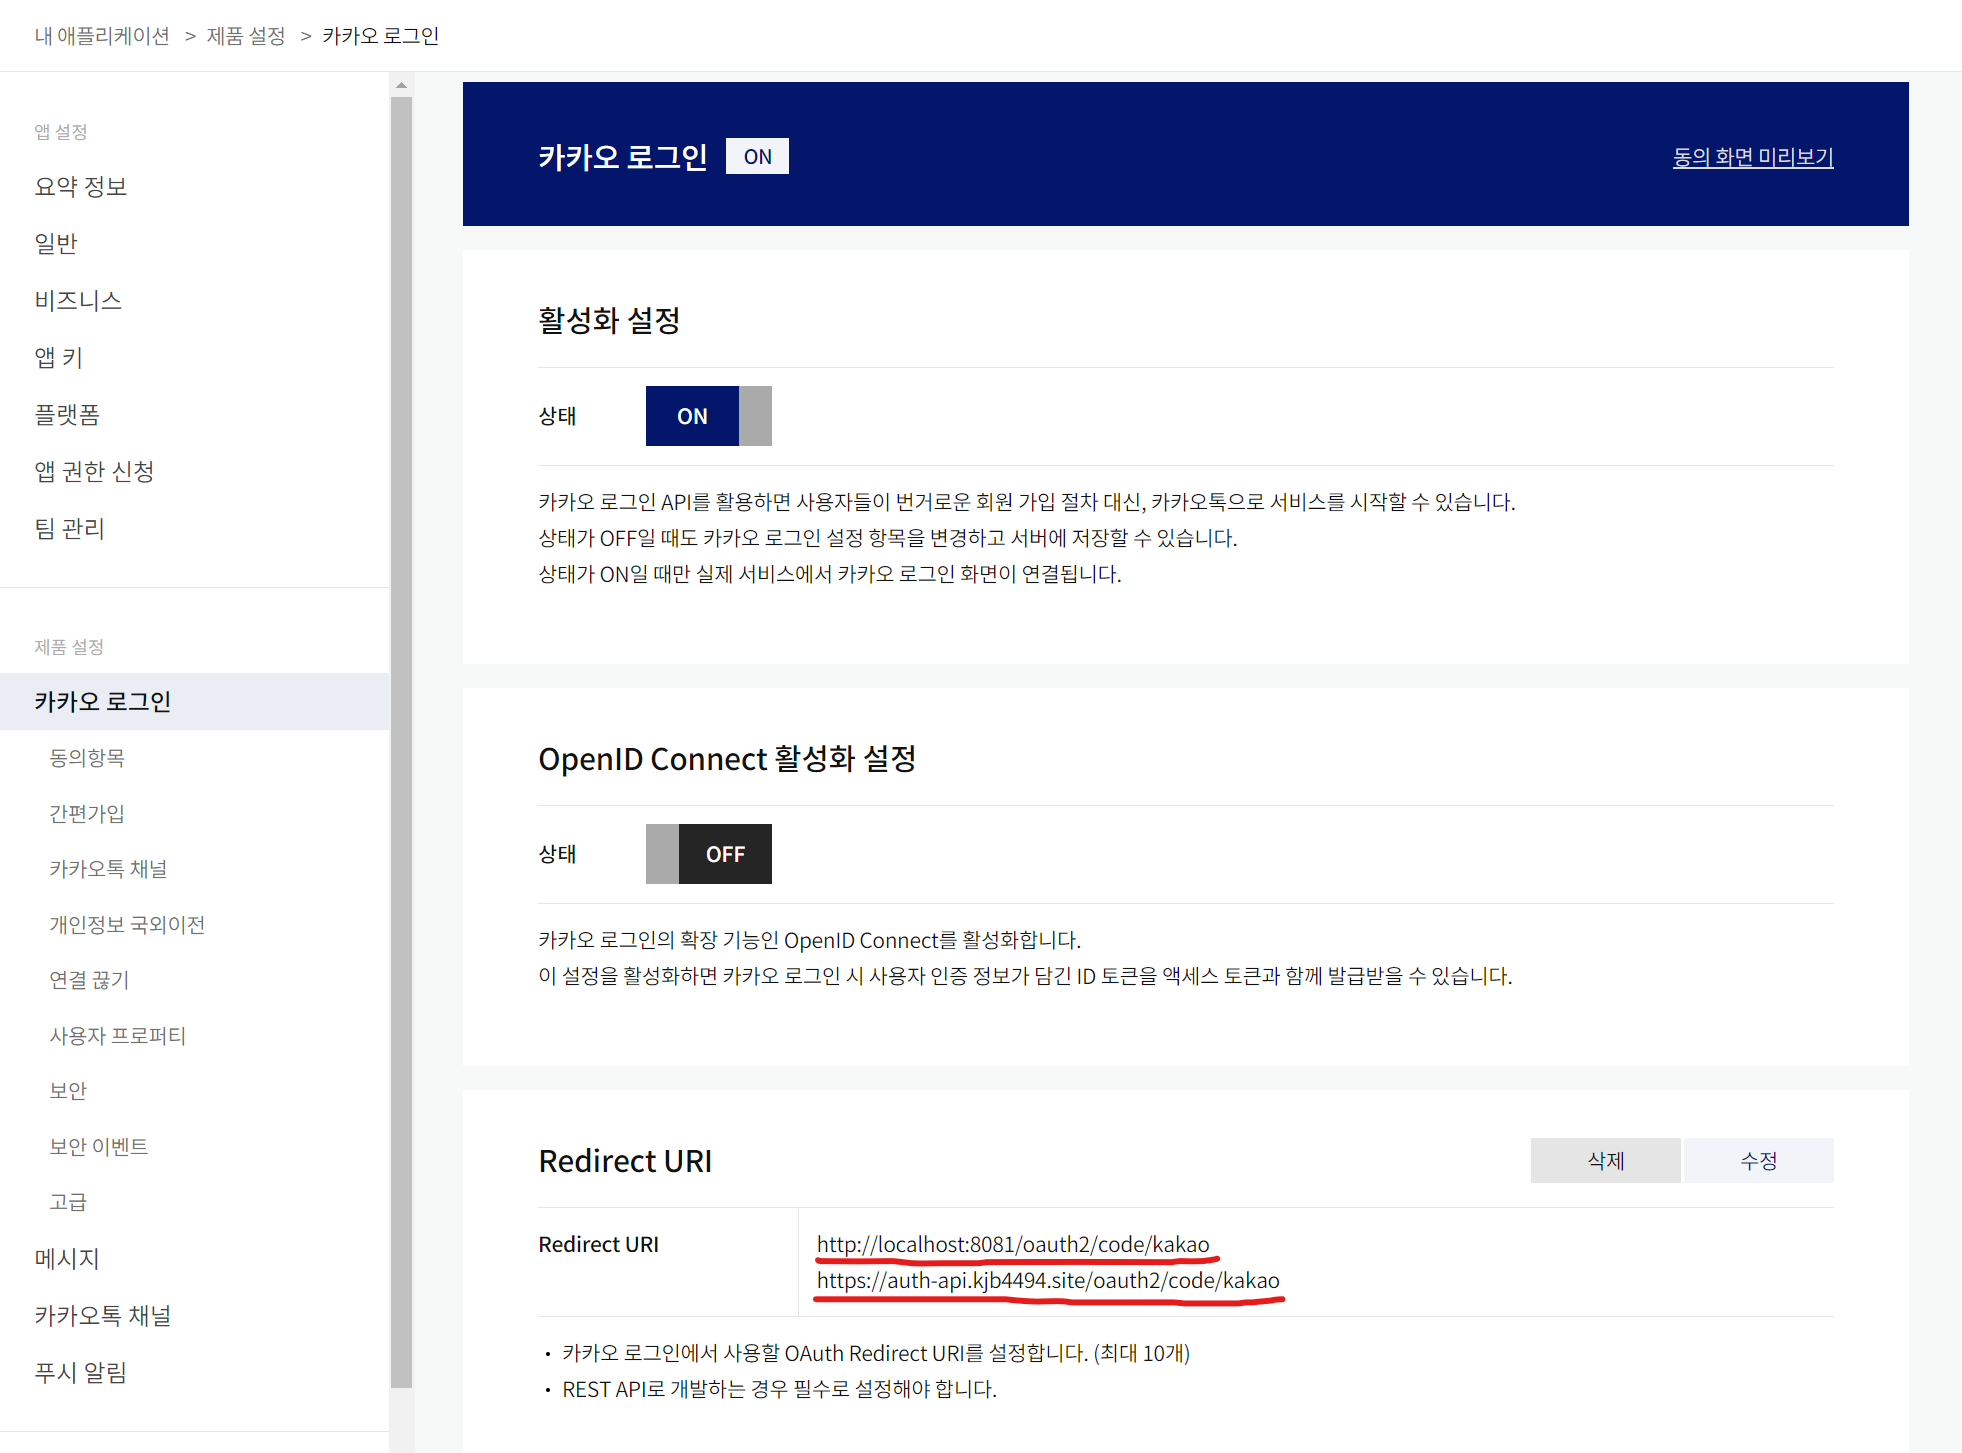
.redirectionEndpoint(): OAuth2 공급자가 인증 후 사용자를 리디렉션할 엔드포인트의 기본 URI를 설정합니다. 이는 OAuth2 공급자가 인증 과정을 완료한 후 사용자를 돌려보내는 주소입니다. 아래는 카카오 로그인 설정 예제입니다.
User Info Endpoint 설정
.userInfoEndpoint(): 사용자 정보를 가져오기 위한 설정입니다. 여기서apiOauth2UserService를 사용자 정보 서비스로 지정하여, 소셜 로그인을 통해 받은 사용자 데이터를 처리하는 방법을 정의합니다.
Authentication Success와 Failure Handler 설정
.successHandler(apiOauth2AuthenticationSuccessHandler): 인증이 성공했을 때 실행될 핸들러를 설정합니다. 이 핸들러는 사용자 인증이 성공한 후 수행할 로직을 정의합니다..failureHandler(apiOauth2AuthenticationFailureHandler): 인증이 실패했을 때 실행될 핸들러를 설정합니다. 이 핸들러는 인증 실패 시 수행할 로직을 정의합니다.
이러한 구성을 통해, 애플리케이션은 OAuth2 로그인 프로세스를 맞춤형으로 제어할 수 있으며, 사용자 인증 및 인가 과정을 보다 세밀하게 관리할 수 있습니다. 이 설정은 OAuth2 로그인의 전체 흐름을 제어하며, 필요에 따라 사용자 정의 로직을 추가할 수 있는 유연성을 제공합니다.
application.yml 설정
1
2
3
4
5
6
7
8
9
10
11
12
13
14
15
16
17
18
19
20
21
22
23
24
25
26
27
28
29
30
31
32
33
34
35
36
37
38
39
40
41
42
43
44
45
46
spring:
  security:
    oauth2:
      client:
        registration:
          kakao:
            client-id: ENC(Hd6fV7EhSPupRfxU9g+gnFyoE/pJHK5Tvffli2T35EyWr1a1B30OACE/X8MksRg7)
            client-secret: ENC(ImcTPyS2huuVo4ieOBmrHjeYKVZra5APW6Azg8G1cwreyqeZdDfsC7kCiGiyP/Jc)
            redirect-uri: "{baseUrl}/oauth2/code/{registrationId}" # http://localhost:8081/oauth2/code/kakao
            client-authentication-method: client_secret_post
            authorization-grant-type: authorization_code
            scope:
              - profile_nickname
              - profile_image
              - account_email
            client-name: Kakao
          google:
            client-id: ENC(MzDflTihaL4Bnl6BmaAYle8dKhhjNS7EZHn/vKrX8gO0TqUlAwU4Rt24Oo6uvYICbNTBA40DBPleC0/QFMdIzpVz1SVTJhteV5GBa4DfuGw8b2hP8D5nSw==)
            client-secret: ENC(NuWbzBYqSildVssIkIx/nz3TNK+ufg2kPHXYxcjbRSbJr4+r+tluPF7O1mh2ZrHI)
            redirect-uri: "{baseUrl}/oauth2/code/{registrationId}" # http://localhost:8081/oauth2/code/google
            scope:
              - profile
              - email
          naver:
            client-id: ENC(ye6jCX178p9qRi0FGYZhrZL5CgRXxxOxZSTN/e76jGg=)
            client-secret: ENC(wWVV//vTLpPZJtiwVmGz3E56M1S9ONKi)
            redirect-uri: "{baseUrl}/oauth2/code/{registrationId}" # http://localhost:8081/oauth2/code/naver
            client-authentication-method: client_secret_post
            authorization-grant-type: authorization_code
            scope:
              - name
              - email
              - profile_image
            client-name: Naver

        provider:
          kakao:
            authorization_uri: https://kauth.kakao.com/oauth/authorize
            token_uri: https://kauth.kakao.com/oauth/token
            user-info-uri: https://kapi.kakao.com/v2/user/me
            user_name_attribute: id
          naver:
            authorization_uri: https://nid.naver.com/oauth2.0/authorize
            token_uri: https://nid.naver.com/oauth2.0/token
            user-info-uri: https://openapi.naver.com/v1/nid/me
            user_name_attribute: response
기본 설정
spring.security.oauth2.client.registration에는 각 소셜 로그인 플랫폼(Kakao, Google, Naver 등)에 필요한 설정을 포함합니다. 여기에는 client-id, client-secret과 같은 필수 정보가 포함됩니다.
client-id와client-secret: 각 소셜 로그인 제공자로부터 받은 애플리케이션의 고유 식별자와 비밀번호입니다.redirect-uri: 사용자 인증 후 리디렉션될 URI입니다.client-authentication-method: 클라이언트 인증 방식을 지정합니다. 이전에는POST를 사용했으나, 현재는client_secret_post로 변경되었습니다.authorization-grant-type: 인증 방식을 지정합니다. 대부분의 경우authorization_code를 사용합니다.scope: 애플리케이션이 요청할 권한의 범위입니다.
특정 소셜 로그인 제공자 설정
Google이나 Facebook과 같은 일부 글로벌 소셜 로그인 제공자의 경우, Spring Boot가 기본적으로 제공하는 설정으로 충분합니다. 그러나 Kakao나 Naver와 같은 특정 소셜 로그인 제공자의 경우, 추가적인 정보가 필요합니다.
spring.security.oauth2.client.provider 섹션에서는 이러한 특정 소셜 로그인 제공자를 위한 설정을 추가합니다. 여기에는 authorization_uri, token_uri, user-info-uri, user_name_attribute 등의 정보가 포함됩니다.
authorization_uri: 사용자 인증을 요청하는 URI입니다.token_uri: 액세스 토큰을 요청하는 URI입니다.user-info-uri: 사용자 정보를 요청하는 URI입니다.user_name_attribute: 사용자의 고유 식별자를 나타내는 속성입니다.
소셜 로그인 공급자 Enum
registrationId는 문자열로 되어있기 때문에 효율적인 관리를 위해 다음과 같은 Enum 클래스를 정의해줍니다.
1
2
3
4
5
6
7
8
9
10
11
12
13
14
15
16
17
18
19
20
21
22
23
24
25
26
27
28
29
30
31
public enum MemberSocialType {
    NONE("none", "일반가입"),
    KAKAO("kakao", "카카오"),
    GOOGLE("google", "구글"),
    NAVER("naver", "네이버"),
    ;

    private final String registrationId;
    private final String desc;

    MemberSocialType(String registrationId, String desc) {
        this.registrationId = registrationId;
        this.desc = desc;
    }

    public String getRegistrationId() {
        return registrationId;
    }

    public String getDesc() {
        return desc;
    }

    public static MemberSocialType getByRegistrationId(String registrationId) {
        if (!StringUtil.hasText(registrationId)) return null;
        for (MemberSocialType memberSocialType: MemberSocialType.values()) {
            if (memberSocialType.registrationId.equals(registrationId)) return memberSocialType;
        }
        return null;
    }
}
Oauth2UserInfo
이 클래스는 소셜 로그인 과정에서 다양한 OAuth2 제공자(예: Google, Kakao, Naver 등)로부터 받은 사용자 정보를 나타냅니다. 각 제공자의 API로부터 반환된 데이터를 표현하는 데 사용됩니다.
1
2
3
4
5
6
7
8
9
10
11
12
13
14
15
16
public abstract class Oauth2UserInfo {

    protected Map<String, Object> attributes;

    public Oauth2UserInfo(Map<String, Object> attributes) {
        this.attributes = attributes == null ? Collections.emptyMap() : attributes;
    }

    public abstract String getId();

    public abstract String getEmail();

    public abstract String getNickname();

    public abstract String getProfileImage();
}
GoogleUserInfo
1
2
3
4
5
6
7
8
9
10
11
12
13
14
15
16
17
18
19
20
21
22
23
24
25
public class GoogleUserInfo extends Oauth2UserInfo {
    public GoogleUserInfo(Map<String, Object> attributes) {
        super(attributes);
    }

    @Override
    public String getId() {
        return (String) attributes.get("sub");
    }

    @Override
    public String getEmail() {
        return (String) attributes.get("email");
    }

    @Override
    public String getNickname() {
        return (String) attributes.get("name");
    }

    @Override
    public String getProfileImage() {
        return null;
    }
}
KakaoUserInfo
1
2
3
4
5
6
7
8
9
10
11
12
13
14
15
16
17
18
19
20
21
22
23
24
25
26
27
28
29
30
31
32
33
public class KakaoUserInfo extends Oauth2UserInfo {
    public KakaoUserInfo(Map<String, Object> attributes) {
        super(attributes);
    }

    @Override
    public String getId() {
        return String.valueOf(attributes.get("id"));
    }

    @Override
    @SuppressWarnings("unchecked")
    public String getEmail() {
        Map<String, Object> account = (Map<String, Object>) attributes.getOrDefault("kakao_account", Collections.emptyMap());
        return (String) account.get("email");
    }

    @Override
    @SuppressWarnings("unchecked")
    public String getNickname() {
        Map<String, Object> account = (Map<String, Object>) attributes.getOrDefault("kakao_account", Collections.emptyMap());
        Map<String, Object> profile = (Map<String, Object>) account.getOrDefault("profile", Collections.emptyMap());
        return (String) profile.get("nickname");
    }

    @Override
    @SuppressWarnings("unchecked")
    public String getProfileImage() {
        Map<String, Object> account = (Map<String, Object>) attributes.getOrDefault("kakao_account", Collections.emptyMap());
        Map<String, Object> profile = (Map<String, Object>) account.getOrDefault("profile", Collections.emptyMap());
        return (String) profile.get("thumbnail_image_url");
    }
}
NaverUserInfo
1
2
3
4
5
6
7
8
9
10
11
12
13
14
15
16
17
18
19
20
21
22
23
24
25
26
27
28
29
30
31
32
33
public class NaverUserInfo extends Oauth2UserInfo {
    public NaverUserInfo(Map<String, Object> attributes) {
        super(attributes);
    }

    @Override
    @SuppressWarnings("unchecked")
    public String getId() {
        Map<String, Object> response = (Map<String, Object>) attributes.getOrDefault("response", Collections.emptyMap());
        return (String) response.get("id");
    }

    @Override
    @SuppressWarnings("unchecked")
    public String getEmail() {
        Map<String, Object> response = (Map<String, Object>) attributes.getOrDefault("response", Collections.emptyMap());
        return (String) response.get("email");
    }

    @Override
    @SuppressWarnings("unchecked")
    public String getNickname() {
        Map<String, Object> response = (Map<String, Object>) attributes.getOrDefault("response", Collections.emptyMap());
        return (String) response.get("name");
    }

    @Override
    @SuppressWarnings("unchecked")
    public String getProfileImage() {
        Map<String, Object> response = (Map<String, Object>) attributes.getOrDefault("response", Collections.emptyMap());
        return (String) response.get("profile_image");
    }
}
Oauth2UserPrincipal
이 클래스는 인증된 사용자의 주요 정보를 나타내며, Oauth2UserInfo로부터 얻은 데이터를 기반으로 사용자의 주체(Principal)를 구성합니다. 사용자가 소셜 로그인을 하면 이 클래스를 통해 사용자의 정보를 다루게 됩니다.
1
2
3
4
5
6
7
8
9
10
11
12
13
14
15
16
17
18
19
@Getter
public class Oauth2UserPrincipal extends DefaultOAuth2User {
    private final Long idx;
    private final String name;
    private final String socialId;
    private final String socialEmail;
    private final MemberSocialType socialType;
    private final MemberStatusType status;

    public Oauth2UserPrincipal(Oauth2Attributes oauth2Attributes, Member member) {
        super(Collections.singleton(new SimpleGrantedAuthority(MemberRoleType.USER.name())), oauth2Attributes.getOauth2UserInfo().attributes, oauth2Attributes.getNameAttributeKey());
        this.idx = member.getIdx();
        this.name = member.getName();
        this.socialId = member.getSocialId();
        this.socialEmail = member.getSocialEmail();
        this.socialType = member.getSocialType();
        this.status = member.getStatusCode();
    }
}
Oauth2Attributes
이 클래스는 사용자의 세부 속성을 관리합니다. 예를 들어, 사용자 이름, 이메일, 프로필 사진 등과 같은 정보가 포함될 수 있습니다.
1
2
3
4
5
6
7
8
9
10
11
12
13
14
15
16
17
18
19
20
21
22
23
24
25
26
27
28
29
30
31
32
33
@Getter
public class Oauth2Attributes {
    private MemberSocialType memberSocialType;
    private String nameAttributeKey;
    private Oauth2UserInfo oauth2UserInfo;

    public Oauth2Attributes(MemberSocialType memberSocialType, String nameAttributeKey, Map<String, Object> attributes) {
        this.memberSocialType = memberSocialType;
        this.nameAttributeKey = nameAttributeKey;
        switch (memberSocialType) {
            case KAKAO -> this.oauth2UserInfo = new KakaoUserInfo(attributes);
            case NAVER -> this.oauth2UserInfo = new NaverUserInfo(attributes);
            default -> this.oauth2UserInfo = new GoogleUserInfo(attributes);
        }
    }

    public Member register() {
        return Member.builder()
                .name(StringUtil.hasText(this.oauth2UserInfo.getNickname()) ? this.oauth2UserInfo.getNickname()
                        : String.format("%s-%s", this.memberSocialType.getRegistrationId(), this.oauth2UserInfo.getId()))
                .createdDate(LocalDateTime.now())
                .socialType(this.memberSocialType)
                .socialId(this.oauth2UserInfo.getId())
                .socialEmail(this.oauth2UserInfo.getEmail())
                .roles(Collections.singleton(MemberRoleType.USER))
                .statusCode(MemberStatusType.VERIFIED)
                .build();
    }

    public Oauth2UserPrincipal getPrincipal(Member member) {
        return new Oauth2UserPrincipal(this, member);
    }
}
OAuth2UserService
이 클래스는 Spring Security의 OAuth2 로그인 프로세스 중에서 소셜 로그인을 통한 사용자 정보의 조회와 처리를 담당합니다. DefaultOAuth2UserService를 상속받아, OAuth2 공급자(Kakao, Naver, Google 등)로부터 받은 사용자 정보를 기반으로 사용자의 주요 정보(Principal)를 구성합니다.
1
2
3
4
5
6
7
8
9
10
11
12
13
14
15
16
17
@Service
@RequiredArgsConstructor
@Slf4j
public class ApiOauth2UserService extends DefaultOAuth2UserService {
    private final MemberRepository memberRepository;

    @Override
    public Oauth2UserPrincipal loadUser(OAuth2UserRequest userRequest) throws OAuth2AuthenticationException {
        String nameAttributeKey = userRequest.getClientRegistration().getProviderDetails().getUserInfoEndpoint().getUserNameAttributeName();
        MemberSocialType memberSocialType = MemberSocialType.getByRegistrationId(userRequest.getClientRegistration().getRegistrationId());
        OAuth2User oAuth2User = super.loadUser(userRequest);
        Oauth2Attributes oauth2Attributes = new Oauth2Attributes(memberSocialType, nameAttributeKey, oAuth2User.getAttributes());

        Member member = memberRepository.findMemberBySocialIdAndSocialType(oauth2Attributes.getOauth2UserInfo().getId(), memberSocialType).orElse(null);
        return member == null ? oauth2Attributes.getPrincipal(memberRepository.save(oauth2Attributes.register())) : oauth2Attributes.getPrincipal(member);
    }
}
위 예제에서는 간단하게, 소셜 로그인 프로세스를 통해 얻은 사용자 정보를 애플리케이션의 사용자 데이터와 매칭하고 새로운 사용자의 경우 데이터베이스에 등록하게 구성했습니다. 이를 통해 애플리케이션은 다양한 소셜 미디어 공급자를 통한 사용자 인증 및 관리를 해당 메서드에서 공통으로 처리할 수 있게 됐습니다.
AuthenticationSuccessHandler
이 클래스는 OAuth2 로그인 프로세스가 성공적으로 완료된 후 호출되는 핸들러입니다. 이 클래스는 사용자의 인증 정보를 기반으로 액세스 토큰과 리프레시 토큰을 생성하고, 이를 클라이언트에 전달하는 역할을 합니다.
1
2
3
4
5
6
7
8
9
10
11
12
13
14
15
16
17
18
19
20
21
22
23
24
@Component
@RequiredArgsConstructor
@Slf4j
public class ApiOauth2AuthenticationSuccessHandler implements AuthenticationSuccessHandler {
    private final Oauth2ClientProperties oauth2ClientProperties;

    @Override
    public void onAuthenticationSuccess(HttpServletRequest request, HttpServletResponse response, Authentication authentication) throws IOException, ServletException {
        Oauth2UserPrincipal oauth2UserPrincipal = (Oauth2UserPrincipal) authentication.getPrincipal();

        // 토큰 처리 로직
        String accessToken = ""
        String refreshToken = ""

        String redirectUri = UriComponentsBuilder.fromUriString(oauth2ClientProperties.getFrontRedirectUri())
                .queryParam("accessToken", accessToken)
                .queryParam("refreshToken", refreshToken)
                .build()
                .encode(StandardCharsets.UTF_8)
                .toUriString();

        response.sendRedirect(redirectUri);
    }
}
프론트 엔드에서 처리해야할 것
소셜 로그인 버튼
1
2
3
4
5
6
7
8
9
10
11
12
<a
  href="http://localhost:8081/oauth2/authorization/google?redirect_uri=http://localhost:3080"
  >Google Login Test</a
>
<a
  href="http://localhost:8081/oauth2/authorization/kakao?redirect_uri=http://localhost:3080"
  >Kakao Login Test</a
>
<a
  href="http://localhost:8081/oauth2/authorization/naver?redirect_uri=http://localhost:3080"
  >NaverLogin Test</a
>
- 각 소셜 로그인 버튼은 사용자를 각각의 OAuth2 인증 URL로 리디렉션합니다. 이 URL은 서버 측에서 설정된 OAuth2 인증 엔드포인트를 가리키며, 사용자가 해당 링크를 클릭하면 OAuth2 인증 과정이 시작됩니다.
redirect_uri파라미터는 인증 과정이 완료된 후 사용자가 리디렉션될 프론트 엔드의 URI를 지정합니다. 이는 인증 성공 후 사용자를 원래의 애플리케이션으로 돌려보내는 데 사용됩니다.
FrontRedirectUri 후처리
- 프론트 엔드에서는
AuthenticationSuccessHandler에 의해 설정된 리디렉트 URI로부터 토큰 정보(예: 액세스 토큰, 리프레시 토큰 등)를 추출합니다. - 추출된 토큰 정보는 일반적으로 로컬 스토리지, 쿠키, 세션 스토리지 등에 저장되며, 이후 API 요청 시 인증 토큰으로 사용됩니다.
결론
이번 글에서는 Spring Boot의 OAuth2 Client를 사용하여 RESTful API와 SPA 환경에서 소셜 로그인 기능을 간편하게 구현하는 방법을 살펴보았습니다. 이 방법을 사용하면 복잡한 OAuth2 로그인 로직을 처음부터 끝까지 일일이 구현할 필요 없이, 효율적이고 간단하게 소셜 로그인을 추가할 수 있습니다.
새로운 소셜 로그인 공급자를 시스템에 추가하고자 할 때, 다음과 같은 네 가지 주요 단계만 수행하면 됩니다:
- 소셜 로그인 공급자 Enum (
MemberSocialType) 추가: 새로운 소셜 로그인 공급자를 열거형에 추가합니다. Oauth2UserInfo클래스 추가: 새로운 공급자에 맞는 사용자 정보 클래스를 구현합니다.Oauth2Attributes생성자 수정: 새로운 공급자에 맞게Oauth2Attributes의 생성자에서 switch case를 추가합니다.spring.security.oauth2.client.registration및provider설정 추가: 새로운 공급자에 대한 스프링 시큐리티 OAuth2 설정을 추가합니다.
이렇게 간단한 단계를 통해 다양한 소셜 로그인 방식을 쉽게 통합하고 확장할 수 있습니다. 이는 개발자들이 RESTful API와 SPA 환경에서 소셜 로그인 기능을 빠르고 효율적으로 구현할 수 있도록 도와줍니다.
소셜 로그인은 요즘 웹 애플리케이션에서 자주 요구되는 기능입니다. 하지만 소셜 로그인을 처음 구현할 때는 예상보다 복잡하고 어려워 보일 수도 있습니다. 이 글이 문제들을 원만하게 해결하는 데 도움이 되었으면 좋겠습니다. 😄